martes, 30 de abril de 2013

Cut out and keep featured member!

¡Hola! Solo quería comentaros que soy el featured member de esta semana en cut out and keep! :D
Me han hecho una entrevista y todo, echadle un vistazo ;)
Estoy MUY contenta por la mención y me hace aún mas ilusión por el hecho de que es mi página de manualidades favorita, por decirlo de alguna forma, con la que me inicié en el mundillo. Si os gusta este tema definitivamente deberíais haceros una cuenta, mucha inspiración y muy buen ambiente en la comunidad :D

Hi! just a quick post to let you know that I'm the featured member of the week in cut out and keep!!
I've made an interview too, take a look at it if you want ;)
I'm really happy about this because it's my favorite craft site ever and, in some way, the place where I started with all of this. If you like DIYs you should definetely make an account, so muy inspiration and a very friendly community :D

domingo, 28 de abril de 2013

DIY: Roronoa Zoro's earrings

¡Hola buenas! hoy vamos con un poco de joyería, como no inspirada en alguna frikada. Hoy toca One Piece, no soy una gran fan de la serie, pero desde que una amiga me regaló el primer manga me he aficionado mucho. Mi personaje favorito es Zoro y aunque no lo admita del todo sus pendientes tan característicos fueron una de las razones por las que me hice otros dos agujeros en la oreja izquierda :b. El problema era que encontrar unos pendientes más o menos parecidos no es nada fácil. Desde luego no iba a comprarlos, siendo yo una aficionada al DIY, pero el primer intento con alambre dorado fue un fail absoluto (no me atrevo ni a enseñaroslo -.-) asi que el proyecto fue quedando aparcado... Hasta que hace unas semanas entré en una tienda de cuentas en Oviedo y me vino la inspiración, y he aqui el resultado:

Hi! today we're doing jewelry, but inspired in manga, more specifically One Piece. I'm not a huge fan of the serie, but since a friend gave to me the first manga I got a bit obsssed about it. My favourite character is Zoro, and althought I don't addmit it completely, their earrings were one of the reasons for why I pierced my left ear two more times :b The problem at that time were, where could I find the earrings? Of course I wasn't going to but them, my life is DIY, but the first attempt with wire was an absolute fail (really, I don't even dare to show you -.-) so the project got stuck... Until a few weeks ago I found the solution at a bead shop in Oviedo:


En cuanto vi esas cuentas alargadas pense "esas se vienen conmigo". Aunque tuve algún que otro problema para conseguir colgarlas, estoy encantada con el resultado :D. No son exactamente iguales a los originales, pero me parece una alternativa mucho más simple y ponible.

When I saw these elongated beads I thought "uuuh, these are comming with me!" And although I had some problems to attach them, I'm really in love with the result :D They're not identical to the original ones, but they're more simple and wearable.


Bueno, después de tanto rollo, pongámonos manos a la obra:

Ok, let's get into it:


Vamos a necesitar tres aros pequeños, si no teneis tantos agujeros supongo que se pueden conseguir de los falsos, es cuestión de investigar un poco; tres arandelas (las mias eran plateadas y las pinté con spray dorado, hay que usar lo que se tiene!) y finalmente tres cuentas doradas y alargadas, las que yo encontré tienen relieve por un lado, pero casi ni se nota una vez puestos.

We are going to need three hoop earrings, if you don't hace you ear pierced, I suppose you can get a fake ones; three washers (mine were silver, so I spray painted them golden, you have to use what you have!) and finally three elongated golden beads, mine have like some texture in one side, but it isn't noticeable onces you  wear them.


La elaboración es de lo más secillo: se abren las arandelas, se pasa la cuenta y se mete la arandela en la cuenta, ¡Y no hay más!

Pretty easy elaboration: open the washers, introduce the beads and then into the hoops, and that's all!


A mi personalmente me parece que quedan guapísimos, incluso si la serie no te da más puedes llevarlos ;) Esto también me ha dado ideas para muchos más colgantes para pendientes, ya os iré enseñando a medida que vaya haciendo.

I personally think they look great, and this has gave me some more ideas for earrings, I'll be soon showing you ;)


domingo, 21 de abril de 2013

Trip to London

¡Hola buenas! Hoy os vengo a enseñar las cosinas que compré por allá en mi viaje a Londres y también a contaros las ideas que fui cogiendo para futuros DIY.

Hi there! Today I'm going to show you the things I bought in London and also some ideas and inspiration for future DIY.


Un montón de camisetas en Camden, con unos diseños preciosos, para todos los gustos (como las frikis de abajo, la de totoro cae fijo ;)

T-shirts at Camden, I specially love the totoro one, definetely I'm going to make one *.*


Crochet graffiti por las calles de Oxford, solo lo había visto en fotos asi que me hizo bastante gracia verlo asi en vivo.

Crochet graffiti at Oxford, this was the first time I saw  this in person, and I loved how it looked.


Me encantan los degradados y este con gemas me tenía maravillada, ¡ojala pudiera hacer un collar con todas ellas!

I love gradients! I wish I could make a necklace with all these gems...


¡Quiero teñirme las puntas de colorines! -3-

I want to dye my hair! omg in London some people go crazy with their hair.


Pasamos por el andén 9 3/4 y había una tienda de Harry Potter chulisima, pero todo era exageradamente caro (como no -.-") Me quedé con ganas de algunas cosas, pero son facilmente crafteables ;)

We went to a very cool Harry Potter shop at king's cross, but everything was too expensive. Anyway some things are easy to make as a DIY ;) 


Bueno, vamos ahora con las comprillas. Todas son en general cosas que llevaba muchiiiiiiiisimo tiempo queriendo tener. 

Ok, here you have some of the things I bought, They're in general things I wanted to have for a very looooong time.


En el fondo tenemos dos camisetas, una de ellas de los Red Hot Chili Peppers, ¡2 años para conseguir una que de verdad me gustara! (asi de repunante me pongo a veces -.-)

For exapmle, at the bottom you can see a RHCP t-shirt, I waited for two years until I found one I really liked!!


Vamos ahora con dos cosillas que me compré en lush ¡Qué ganas tenía de poder probar al fin algo de ellos! Me encanta la marca sobre todo porque hace muchos productos en sólido (no olvidarse de que son productos 100% naturales y no hacen pruebas en animales), por ejemplo el champú, que esta vez no lo cogí  pero ya caerá más tarde o más temprano; o los perfumes sólidos. Esta iba a ser una compra fija, los había visto por la web y me enamoré de ellos, es muy dificil encontrar perfumes sólidos y es una pena porque a mi me parecen mucho más prácticos a la hora de aplicarlos o si te los quieres llevar. Me costó mucho decidirme por uno, pero al final cogi karma, tiene un olor muy fresco al principio, que con el tiempo acaba pasando a uno más cálido, como incienso.
La American Cream la cogí para probarla, ya que había oido milagros de ella y mi pelo es de los imposibles, se enreda con mirarlo. Por ahora no os puedo contar mucho, pero lo que tienes asegurado con ella es un olor increible en el pelo. Os dejo la descripción para que veais vosotras mismas ;)

I finally found a lush shop, another brand I wanted to try for a long time! I like it mostly because they have many solid products, such as shampoo (I didn't took one this time, but for sure I'll try one next) or solid perfume. I like them becaus I think that they are easier to aply and more practical, it a pity that it so difficult to find more like that. The one I bought, karma, has a very refreshing smell at first, that them turns into something warmer, like inciense.
I took the american cream because I've heard miracles about it and I wanted to try it, my hair is almost impossible to comb. Right now I can only tell you that it smells amazing! just read the description ;)


Y ahora dos cositas para las uñas que llevaba bastante tiempo rabiando por ellas, al ver todas las manis que se podian hacer: ¡Si, por fin tengo cinta para las uñas y piedrecillas! Jajaja las encontré en accesorize y tenias que haberme visto, ¡me abalancé hacia ellas! Para las que compris por internet no os debe de parecer gran cosa, pero no sabeis lo dificil que es de encontrar en una tienda física XD. La verdad es que las piedrecillas podían ser mejores, no soy una gran fan del rosa, que es de las que más traen, y eso de que tengan formitas... pero bueno mejor que nada es ^^ La cinta viene en 5 colores: blanco, negro, plata, oro y rojo. ¡Estoy deseando estrenarlo todo ya!

Yeah!! I finally got them! I've been looking for striping tape and rhinestones for ages! I found them at accesorize, they're not the best I could have (I'm not a fan of pinks...) But it's better than nothing ^^ 
The striping tape comes in 5 colours: white, black, silver, gold and red. I'm waiting to see what can I do with them!


¡Comentadme que os ha parecido la entrada! es la primera vez que hago una review de otros productos que no sean de nail art, comentadme si os ha gustado y quereis que haga más o mejor no...


domingo, 14 de abril de 2013

Review: multi sparkling effect topper

¡Buenas! ya estoy de vuelta de viaje, cargada de material nuevo (aiss ya vereis ya vereis) ^.^

Hi! I'm back from London, full of new material and ideas!

Mientras preparo la entrada os dejo un review de un pintauñas que llevaba tiempo a la caza de él:

While I prepare the post, I leave here a review of a nail polish that I'm in love with:


¡Es el multi sparkling topper de essence! no se si hay de otras marcas, pero este es el que yo tenía más a mano. Aunque a simple vista parezca algo bastante soso, una vez echado cada brillito refleja un color diferente, dando lugar a una especie de arcoiris.

It's the essence multi sparkling topper! I suppose there are from other brands, but this is the only one I could find. It may look a bit boring but onces you put it in your nali it has a rainbow shine.


Aqui teneis como se ve el efecto, si siguieramos más alla del verde se ve azulito ^.^ De base utilicé simlpemente un negro.

That's how the effect looks in the photo you can't see it but it goes from red to blue. As a base I just used black.


Ahora verde...                                       ...ahora rojo

Te acabas pasando horas flipada haciendo esto con las uñas XD

I could be hours moving my nails watching how the colour changes... XD


Aqui teneis el nombre, número y descripción de essence.

Here you have the name, number and description, in case you need...


Este topper en concreto me encanta, porque se como darle una vida nueva a todos tus pintauñas, con una sola capa transformas cualquier color en otro totalmente diferente. Esta es una de las razones por las que les estoy cogiendo el gusto a los toppers y glitters, multiplican las opciones de tus pintauñas.

I really love this topper because it gives a new life to all your polishes, you add just one layer to your most boring nail polish colour and you have a brand new one! That's one of the reasons of why I'm buying more toppers now, they multiply your options.


¿Qué os parece? se que muchas ya lo habeis probado, y otras tantas como yo estarán muriendo por él ;) dejadme vuestras opiniones o ideas de como utilizarlo porfis ^.^

domingo, 7 de abril de 2013

Nail art: London

¡Buenas! ¿sabéis qué día es hoy? ¡El blog cumple su primer año! :D
Hay mucha gente cuyo blog cumple un año en abril, es algo bastante curioso, y muchos de ellos lo celebran con un sorteo. Me habría encantado celebrarlo de un forma más especial, pero no creo que pudiera permitírmelo :S De todas formas siempre podre subir una entrada un poco diferente, esta vez con historia ;)

Hi! Do you know what day is today? It's my blog first anniversary!
I'd love to celebrate it with a contest or something but right now I can't afford a decent prize so... maybe next time :S anyway, today I have a quite special post ^^


Hoy os traigo un nail art en parte porque el primer propósito del blog era este y es una buena forma de celebrar el aniversario, pero tambien porque... ¡Hoy me voy a Londres de viaje de estudios! y como no las uñas tienen que ir acordes a la ocasión.

Today is time for nail art, first of all because that was the main aim of the blog at first and it's a good way to celebrate the anniversary, but also because... today I travel to London with my high school!! and of course the nails have to be ready for the occasion.


Llevaba tiempo queriendo probar este tipo de manicura, cada uña distinta pero todas combinan entre si.

I wanted to try this kind of manicure where all the nails are different but they look great together.


Os he preparado un how-to para cada uña, pero teneis que perdonar la cutrosidad, ya que soy zurda y estaba pintando con la derecha... la foto final es la de la buena ;)

I've prepared a how-to for each nail, they don't look very good because I'm left-handed and I was painting with the right, but the finished photo is the good one ;)


¡Comenzamos!

Here we go!


Empecemos por el meñique, no podía hacer algo demasiado grande, asi que escogí la típica cabina roja:

For the pinky something not very big, a phone box for example:


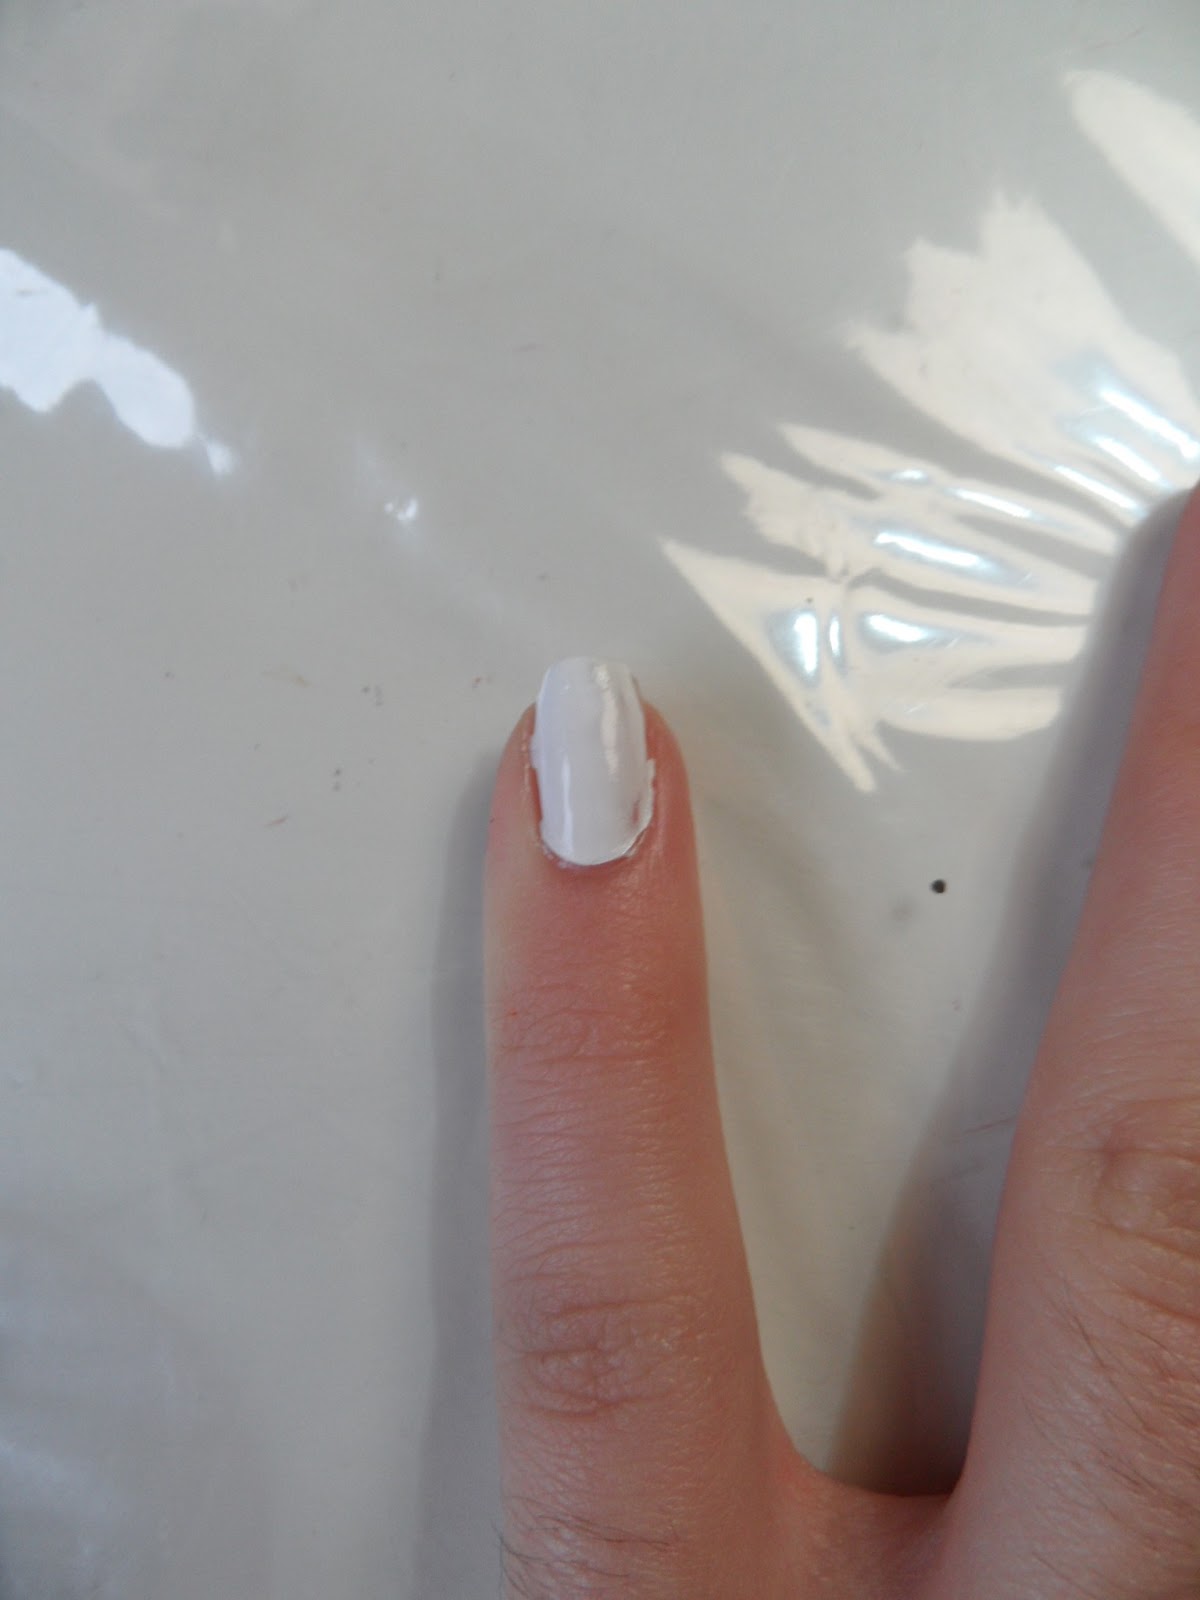
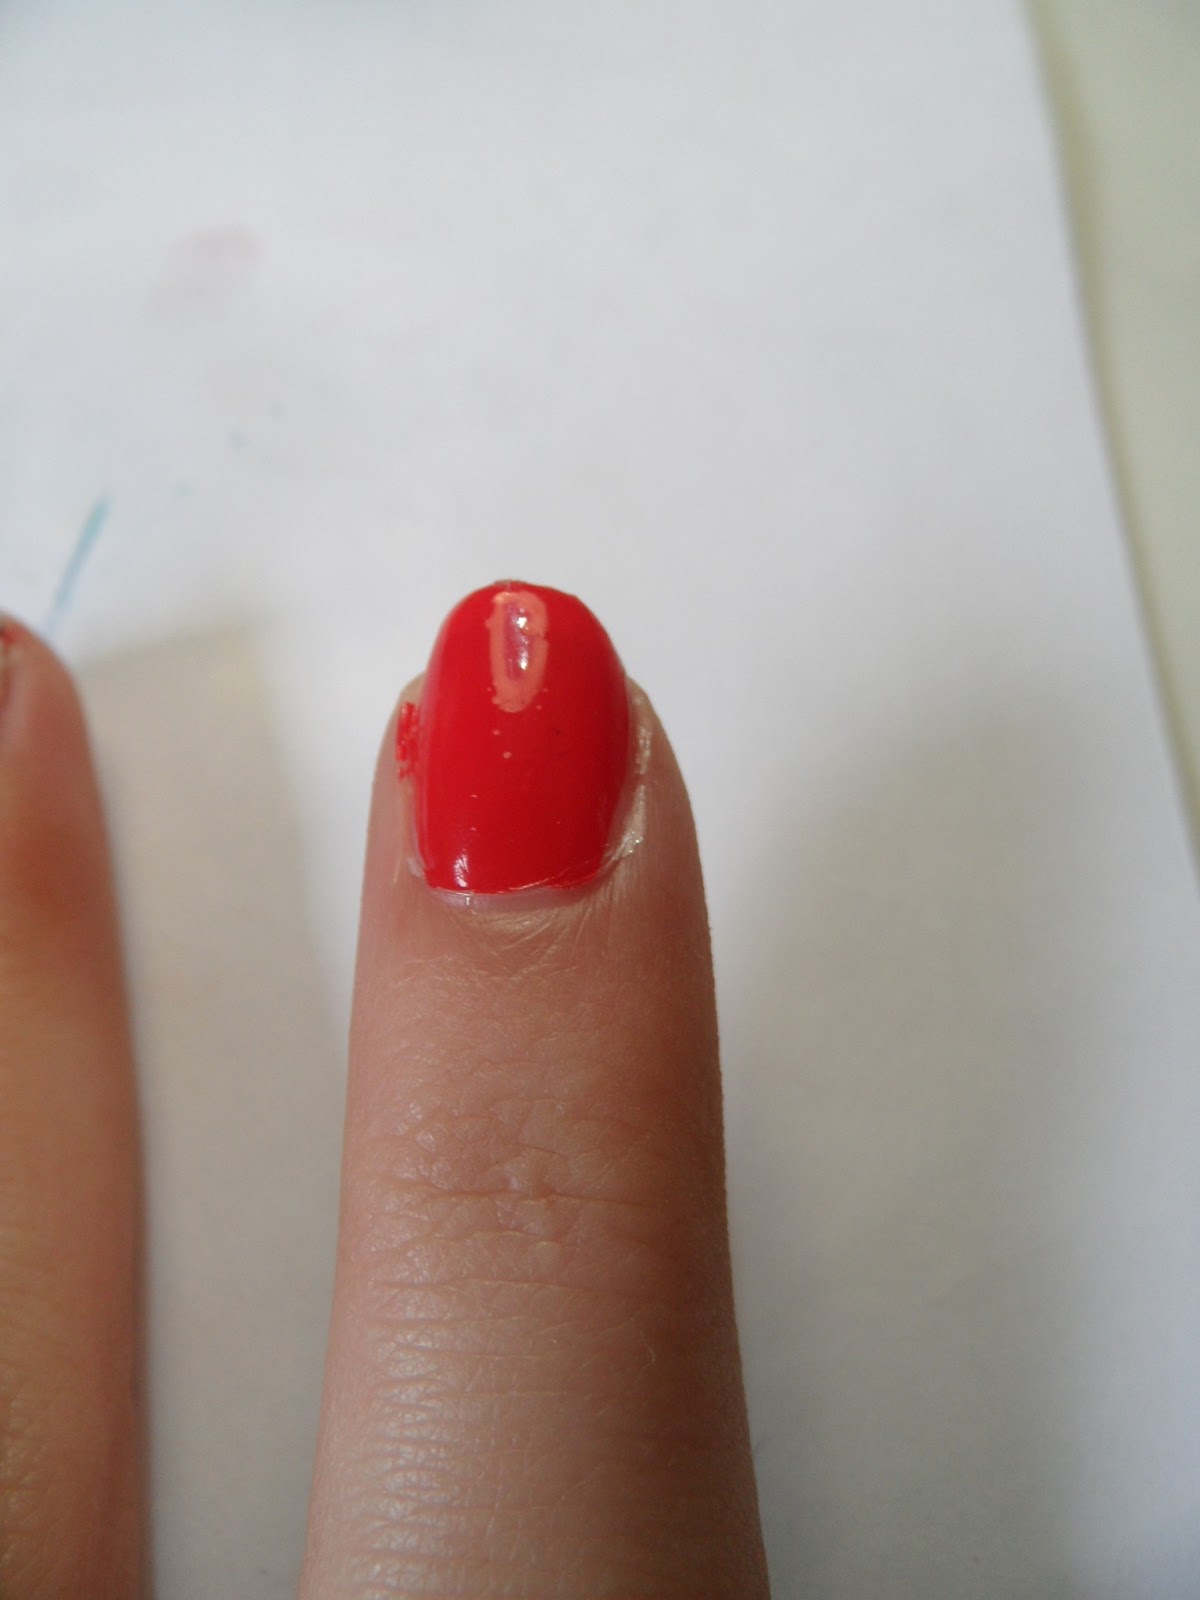
Partiendo de una base blanca y con un pincel largo y fino comenzamos a dibujar la estructura con un buen rojo. Yo cogí un brillantito de un glitter top coat para la insignia de la cabina. Terminé delineándolo todo con negro, cuantos más detalles ¡Mejor!

Paint all the nail white and then with a long, thin brush start painting the structure. Add a little glitter as the sing and outline it all.


Siguiente, la típica Union Jack:

Next the Union Jack:


Pintamos la uña azul y hacemos una cruz y una X en blanco, la primera mas ancha que la segunda. A continuación pintamos por encima una cruz roja completa y unas lineas rojas en la X, sin que lleguen a conectarse con la cruz.

Paint the nail blue and make a cross and a X a bit thinner with white. Now paint a red cross over the white one and four red lines in the X, without touching the main cross.


Por si nos perdemos, un fragmento del mapa del metro XD

In case we get lost, a tube map XD


Busca en internet una foto del mapa de el metro de Londres, escoge una zona que te guste y copiala. En mi fragmento aparecen Picadilly, covent garden...

Search on on internet a photo of the tube map, choose a zone you like and copy it. Mine is Picadilly, covent garden...


Me apetecía ponerle algo de glitter al conjunto, le estoy cogiendo gustillo, asi que vamos a por ello:

These days I'm using a lot glitter, so I wanted to add some here:


Pintamos la uña de rojo y hacemos una especie de degradado con un color dorado, añadimos un poco de glitter y ¡listo!

Paint the nail red, make a kind of gradient with a golden colour, add a bit of gitter and, ready!


Por último en el pulgar un pequeño mapa con la ruta a seguir ;)

At last a little map with the route we are going to follow:


¡Y eso es todo!

And that's all!


Como un pequeño regalo os dejo una foto en la que pararecen las uñas que llevaba la primera vez que fui a Londres, hace dos años, pa que veais que ya apuntaba maneras XD

As a little present here you ahe a photo of the nails I wore the first time I went to London, two years ago:


Voy a estar fuera una semanina, asi que esto se va a quedar un poco muerto... a ver si encuentro por alli material para futuros proyectos :)


martes, 2 de abril de 2013

nuevos telares!

 ¡Por fin he encontrado los telares!
Solo quería el grande para hacer un gorro, pero ya que tengo de otros tamaños habrá que probarlos y tejer más cosinas ;)

I've finally bought the looms!
I just wanted the bigger one to make a knitted hat, but now I have more I'll try to knit different things ;)


Los tamaños que venían en el kit son:

The sizes are:

                                                28cm                                                  23cm

                                               18cm                                                  13,5cm


Y las herramientas: Un gancho de tricotar y una aguja de lana.

And the tools: a sewing needle and a knitting hook.


¿Qué os parece? son tan coloridos que me dan ganas de hacer un stop-motion con ellos :D
La verdad es que ya los estrené y en un solo día ya hice un gorro ¡Estoy acumulando bastantes entradas! Me cuesta contenerme pero trataré de no subirla hasta dentro de unos cuantos días, de todas formas si quereis verlo tengo una foto en instagram.

What do you think? they're so colourful I want to do a stop-motion with them :D
I've already done a hat, but I can't post it yet! anyway if you want to see it I have a photo in instagram.


LinkWithin

Related Posts Plugin for WordPress, Blogger...